什麼是用戶端儲存與離線後備頁面?
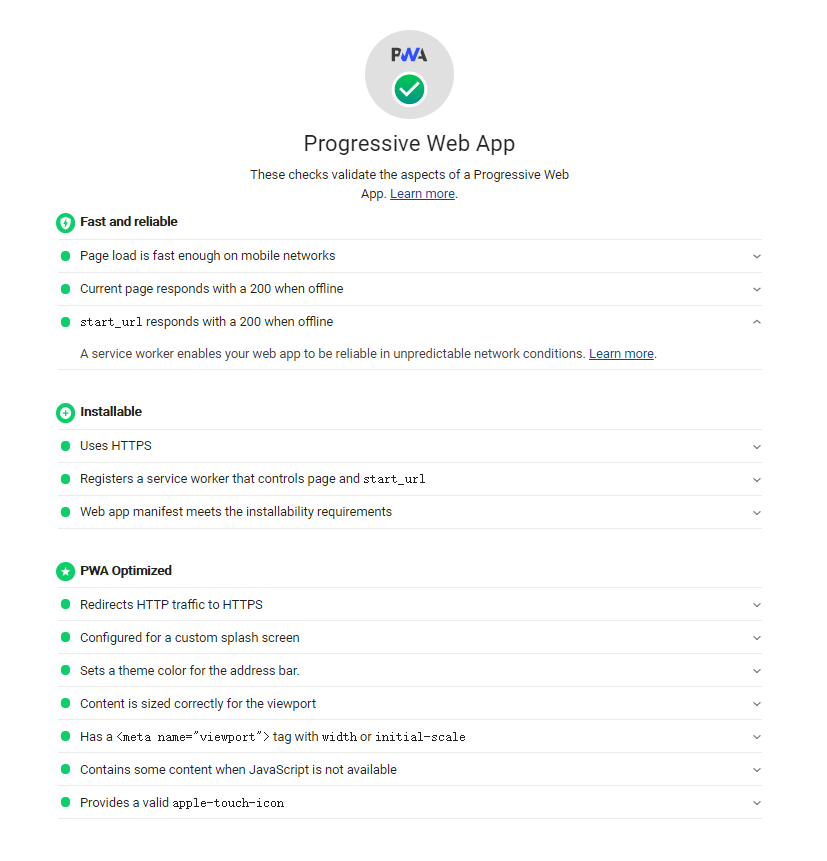
用戶端儲存 (Client-side storage) 是指 Web 應用程式將資料(如偏好設定、靜態資源或離線檔案)直接儲存在使用者瀏覽器中的技術,主要包含 Web Storage (LocalStorage)、Cache API 與 IndexedDB。而 離線後備頁面 (Offline Fallback Page) 則是利用 Service Worker 監聽網路請求,當偵測到使用者斷網或請求失敗時,自動回傳預先快取的 HTML 頁面。這套機制確保了 Web App 在無網路環境下仍能顯示基本的互動介面(如:離線遊戲或重試按鈕),是提升 Progressive Web App (PWA) 強韌性與可靠性的關鍵架構。
什麼是用戶端儲存 (Client-side storage)
對一個 App 來說,為了達到某些目的,將相關資料存在用戶端是相對方便的,舉例來說
- 個人偏好設定,像是常用功能、顏色主題、字體大小
- 將前一次操作快取,像是紀錄購物車資料或是線上編輯器在斷線時先暫時將資料保存
- 不常改變的資料或靜態資源快取
- 離線操作所需要的檔案
通常用戶端的儲存和伺服器端的儲存會是一起搭配使用的,舉例來說當我們使用影音串流功能時,會從伺服器端下載相關資料到用戶端使用,在過程中 App 也能夠將資料快取起來以便下次使用。
不過在實務上,瀏覽器用戶端的儲存目前有各式解決方案,也都有著各自的限制存在,如果是有大小限制的儲存,就必須注意定時和伺服器端同步去避免資料遺失。
常見用戶端儲存機制介紹
目前常見的用戶端儲存機制如下:
- Cookies: 每次發 Request 都會一起送出,所以大小控制要注意。
- Web Storage API:
- SessionStorage: 同步阻塞 (synchronous),上限 5MB,僅存在於 Tab 當次操作,無法被 web workers 或 service workers 使用。
- LocalStorage: 同步阻塞 (synchronous),上限 5MB,無法被 web workers 或 service workers 使用。
- Cache API: 非同步,較適合跟網路請求相關的靜態資源快取。
- IndexedDB API: 非同步,適合儲存程式邏輯相關資料,使用上相對複雜,較推薦使用像是 idb 這類相關套件操作。
- WebSQL: 不建議使用。
用戶端儲存限制
一般來說儲存空間的上限如下:
- Chrome: 總共最多可以用到 80% 的硬碟,每個網域最高是 60%。
- IE 系列 10+: 最多 250MB。
- Firefox: 硬碟空間的 50%。
- Safari: 1GB。
在 Chrome、Firefox、Edge 等瀏覽器中可以使用以下的程式碼去估計剩餘空間:
1 | if (navigator.storage && navigator.storage.estimate) { |
QuotaExceededError 錯誤處理
- IndexedDB:
1 | const transaction = idb.transaction(["entries"], "readwrite"); |
- Cache API:
1 | try { |
儲存淘汰機制 (eviction)
資料在儲存上會分成兩種類別:
- Best Effort: 當瀏覽器空間不足,會開始執行淘汰機制。
- Chromium/Firefox: 從最少使用的(LRU)開始自動清除,不會通知用戶。
- IE 10+: 不會清除,但會停止寫入。
- Persistent: 不會被自動清除。
LRU policy
當硬碟空間即將用完時,瀏覽器會依據 LRU policy (least recently used) 規則清除快取:
- 目前沒有使用的網頁 (tabs/apps)。
- 比對最後存取的時間。
Persistent Storage
為了避免資料被淘汰機制刪除,我們可以透過程式碼啟用保護:
1 | // 啟用 Persistent Storage |
離線後備頁面介紹 (offline fallback page)
離線後備頁面提供用戶在網路不穩定的情況下,一個備援的顯示頁面。
在過去的網站大多由伺服器提供,斷線時原則上就是什麼都沒有。近幾年 SPA 觀念興起,前端掌握度提高,一個有名的例子就是 Chrome 在斷線狀態下的小恐龍遊戲。
圖片來源: https://web.dev/

離線後備頁面實作
最佳實作方式是透過 service worker 搭配 Cache Storage API。
接下來示範一個簡單的情境:當用戶網路斷線時,自動開啟離線頁面,並提供重試按鈕,當網路恢復時自動切換回正常頁面。
Google 的這個範例包含連線頁面與 service worker:
- 連線正常的第一頁
- 連線正常的第二頁
- 離線後備頁面
- service worker: 偵測到斷線時會將第一頁或第二頁切換到離線後備頁面
- Demo 站台: https://linyencheng.github.io/pwa-offline-fallback/
- 原始碼: https://github.com/LinYenCheng/pwa-offline-fallback/tree/main/docs
Service worker 離線實作程式碼
- 宣告常數
1 | const CACHE_NAME = "offline"; |
install事件
1 | self.addEventListener("install", (event) => { |
fetch事件:攔截導覽請求
1 | self.addEventListener("fetch", (event) => { |
離線頁面設計建議
因為是離線頁面,建議將所有資源都快取起來,最簡單的方式是將所有資源(CSS/JS)都以 inline 方式寫在 HTML 中。
若需實作更複雜的策略,建議使用 Workbox:
1 | import { registerRoute } from "workbox-routing"; |
FAQ:PWA 用戶端儲存常見問題
Q1:我該在什麼時候使用 IndexedDB 而不是 LocalStorage?
A:LocalStorage 是同步的且上限僅 5MB,適合存簡單的字串(如佈題顏色)。若需要儲存大量結構化資料(如商品清單、文章內容)且不希望阻塞主線程效能,IndexedDB 是非同步的且空間限制極小,是更佳選擇。
Q2:瀏覽器什麼時候會主動清除我的 Cache API 資料?
A:當裝置硬碟空間不足時,瀏覽器會依據 LRU (Least Recently Used) 規則清除「Best Effort」類型的資料。除非您透過 navigator.storage.persist() 請求保護,否則所有快取資料都可能在極端情況下被移除。
Q3:離線後備頁面 (Offline Fallback) 對 SEO 有幫助嗎?
A:有。雖然 SEO 主要看伺服器回傳,但良好的離線體驗能降低跳出率並增加使用者留存時間,這間接對網站權威度有正面影響。此外,符合 PWA 標準的網站通常在 Google 搜尋排名中有更好的權重。
掌握了用戶端儲存與離線後備機制,您的 Web App 將具備如同原生應用般的韌性。持續優化快取策略,為使用者打造無縫的瀏覽體驗!
站內搜尋
其他相關文章

PWA 新增至主畫面實作
2021-09-03想提升 Web App 的留存率嗎?本篇 PWA 教學深入解析「新增至主畫面 (A2HS)」實作細節。我們將解析 Manifest 配置、Service Worker 註冊到 beforeinstallprompt 程式實戰。前 150 字直接回答 A2HS 定義,助您掌握 PWA 安裝提示的設計技巧與最佳實務。
PWA App Shell 架構深鑽
2021-09-06想讓您的 Web App 擁有原生 App 般的流暢體驗嗎?本篇 PWA 架構教學深入探討 App Shell Model。我們將分享如何透過靜態資源快取與動態資料分離,提升感知效能與可靠性。前 150 字直接回答 App Shell 定義,助您打造秒開且離線可用的高品質 Web App。

PWA App Shortcuts 捷徑實作
2021-10-02想讓您的 Web App 像原生 App 一樣具備快速啟動功能嗎?本篇 PWA 捷徑教學深入解析 App Shortcuts 實作技巧。我們將分享如何透過 Manifest 配置快速啟動選單、應用場景與各平台支援限制。前 150 字直接回答 App Shortcuts 定義,助您打造更高效率的高品質 Web App。
最新的文章

用 Loop Engineering 讓 AI 不再需要你盯著它
2026-07-27你的每個 Prompt 都在燒錢
2026-06-28《隱性潛能》AI 不讓你變聰明,讓你的潛能被放大
2026-06-27